Buying guide / Force

A burger press should do one thing.

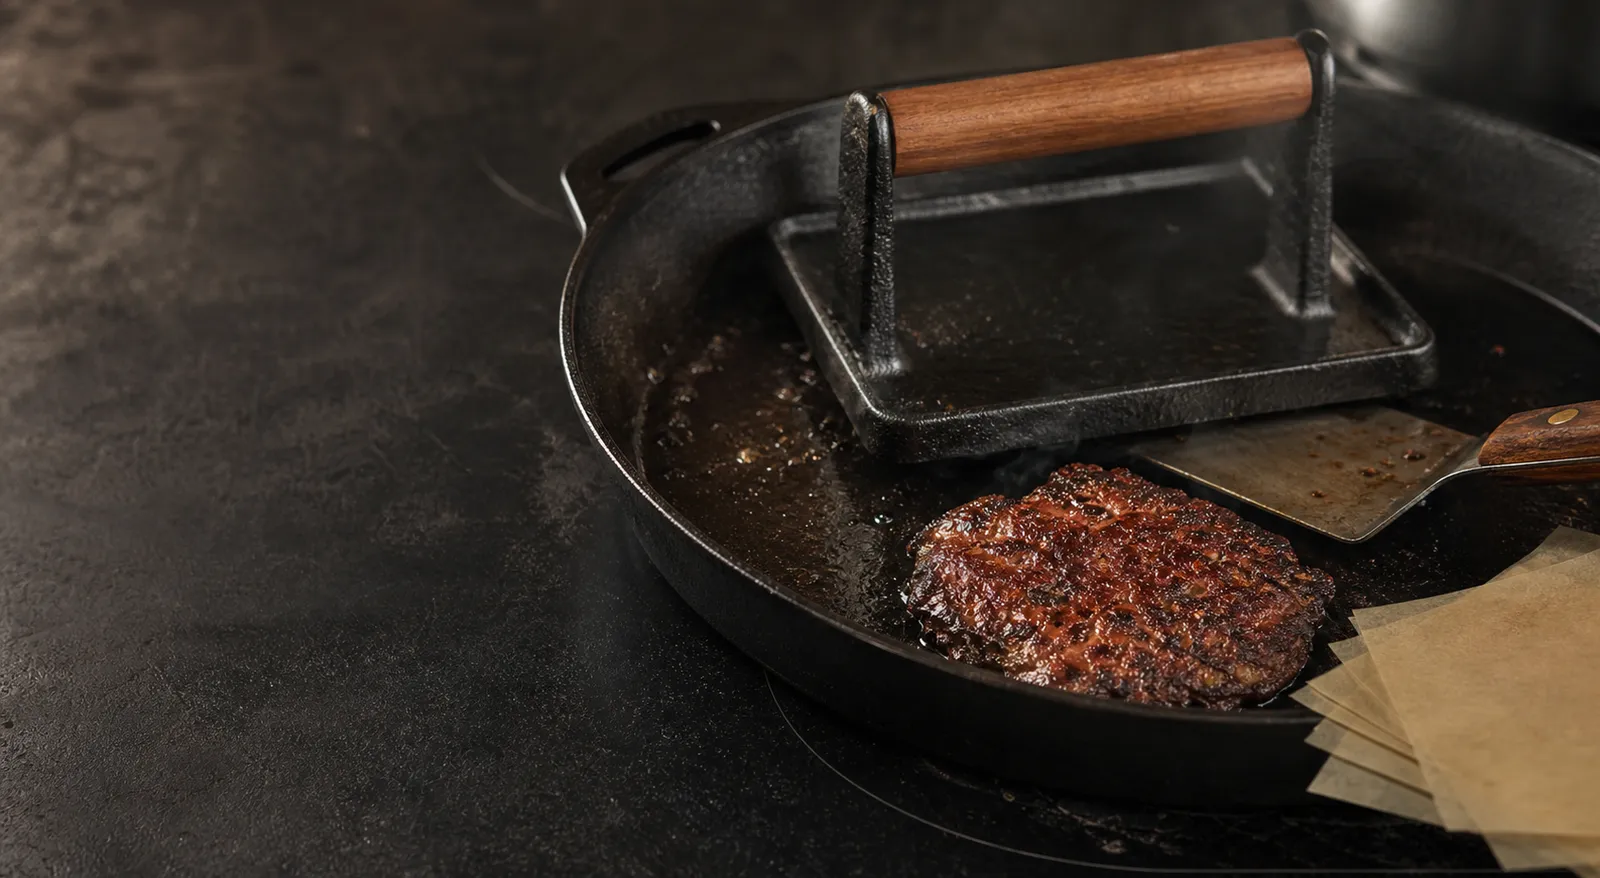
A flat, sturdy press creates the contact that turns loose beef into a lace-edged patty. The best one is simple enough to forget about while you cook.

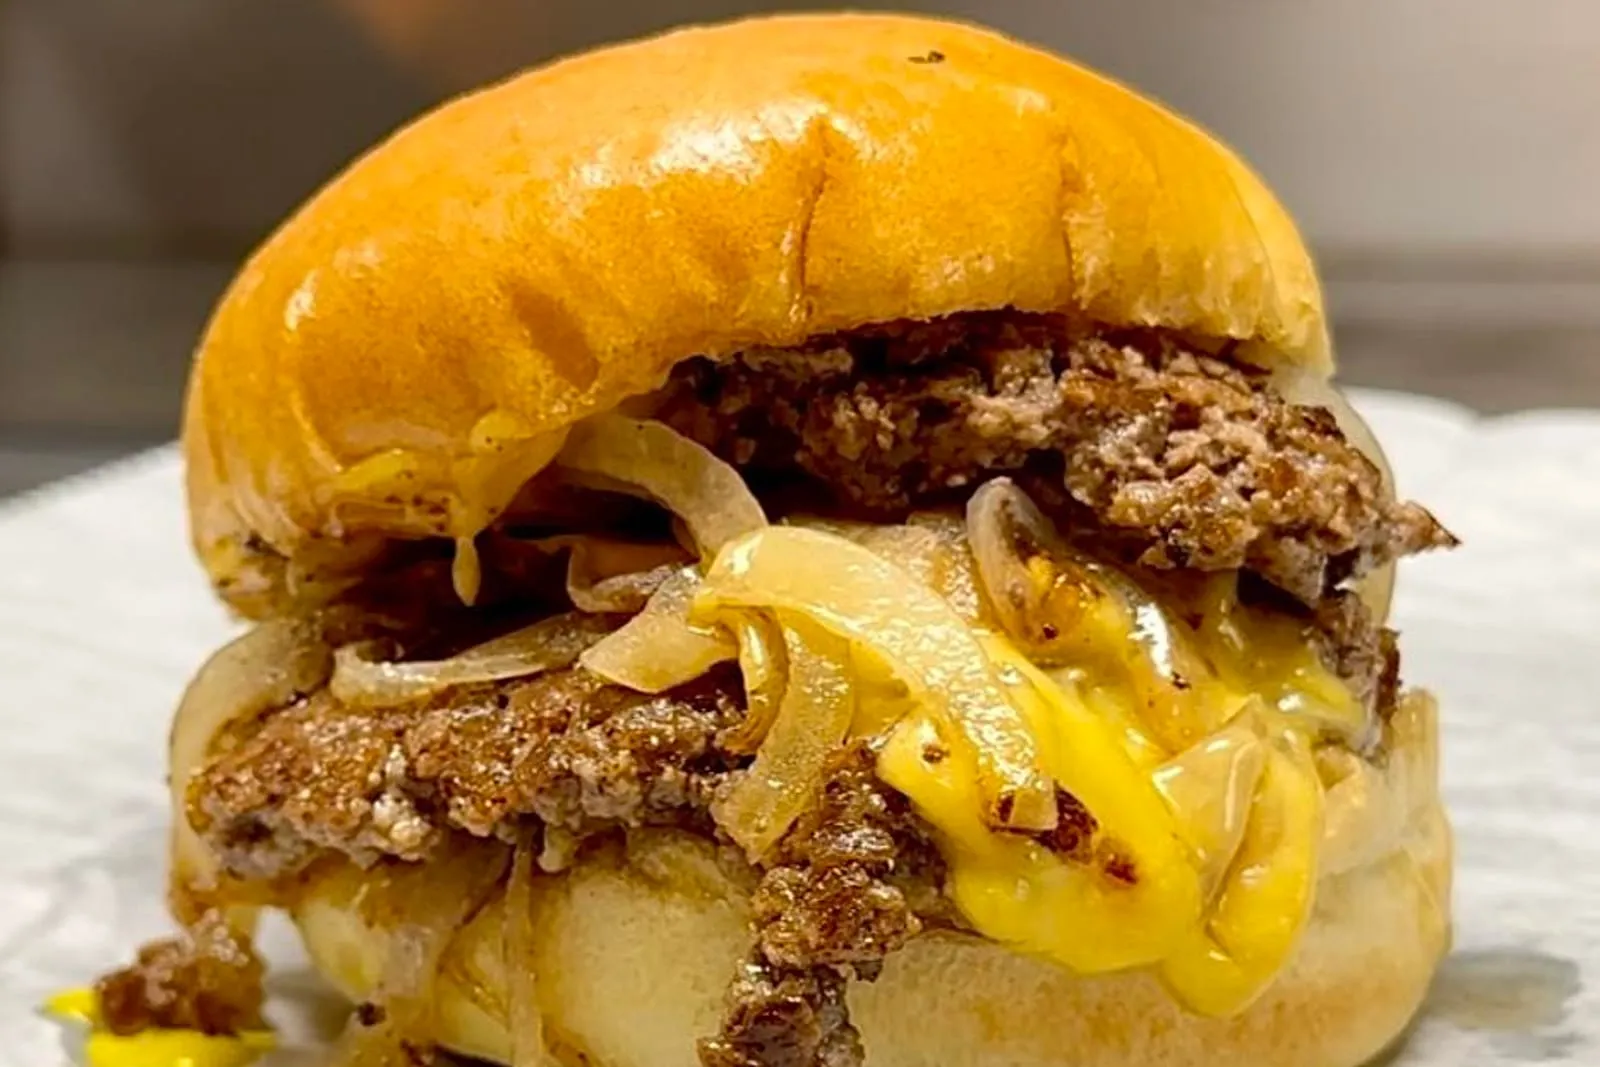
Close-up of a crisp double smashburger
Quick answer

Choose a heavy, flat press with enough handle clearance to push hard. Use parchment every time. Skip spring-loaded gadgets.

Force is useful only if it reaches the pan.

Your goal is not to form a pretty patty. It is to make full contact between cold beef and a very hot surface in the first few seconds. A flat base, enough mass, and a handle you can lean into get you there.

What makes a press worth owning

  • Flat base with no ridges
  • Comfortable handle clearance
  • Enough weight for a firm first push
  • Diameter that fits the pan
  • Simple cleanup
  • Works with parchment squares

Current press shortlist

01
Best all-around press A practical, flat cast-iron model for a home skillet or griddle.
View pick
02
Best wide press For thin patties and a wider flat-top surface.
View pick
03
Best budget press Simple construction, no burger-shaping accessories required.
View pick

The one accessory that matters

Keep a stack of parchment squares near the stove. They stop the meat from grabbing the press and let you push hard without tearing the patty. That is more useful than a drawer full of burger-specific tools.
Next in your setup / 03 of 04

Now protect the crust.

A thin, stiff spatula gets cleanly underneath the patty instead of leaving the best edge behind.

Choose a spatula
01 / Heat02 / Force03 / Release04 / Finish
Learn from the source

See the crust in the wild.

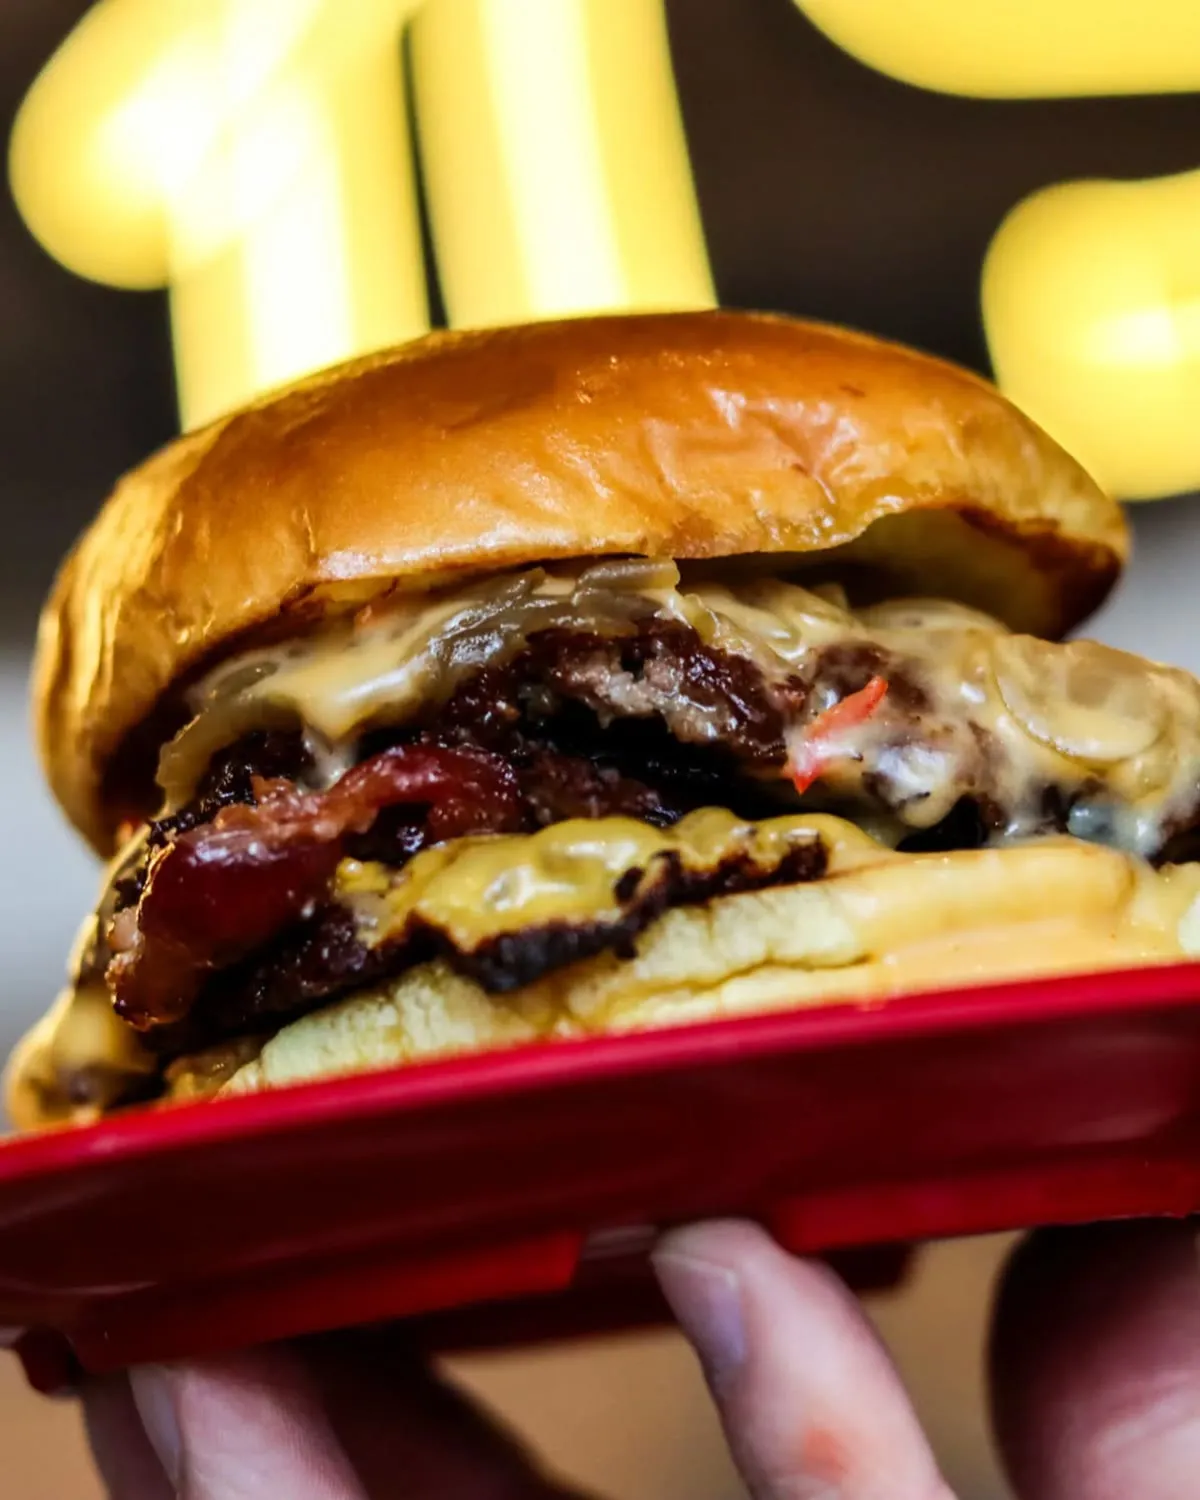
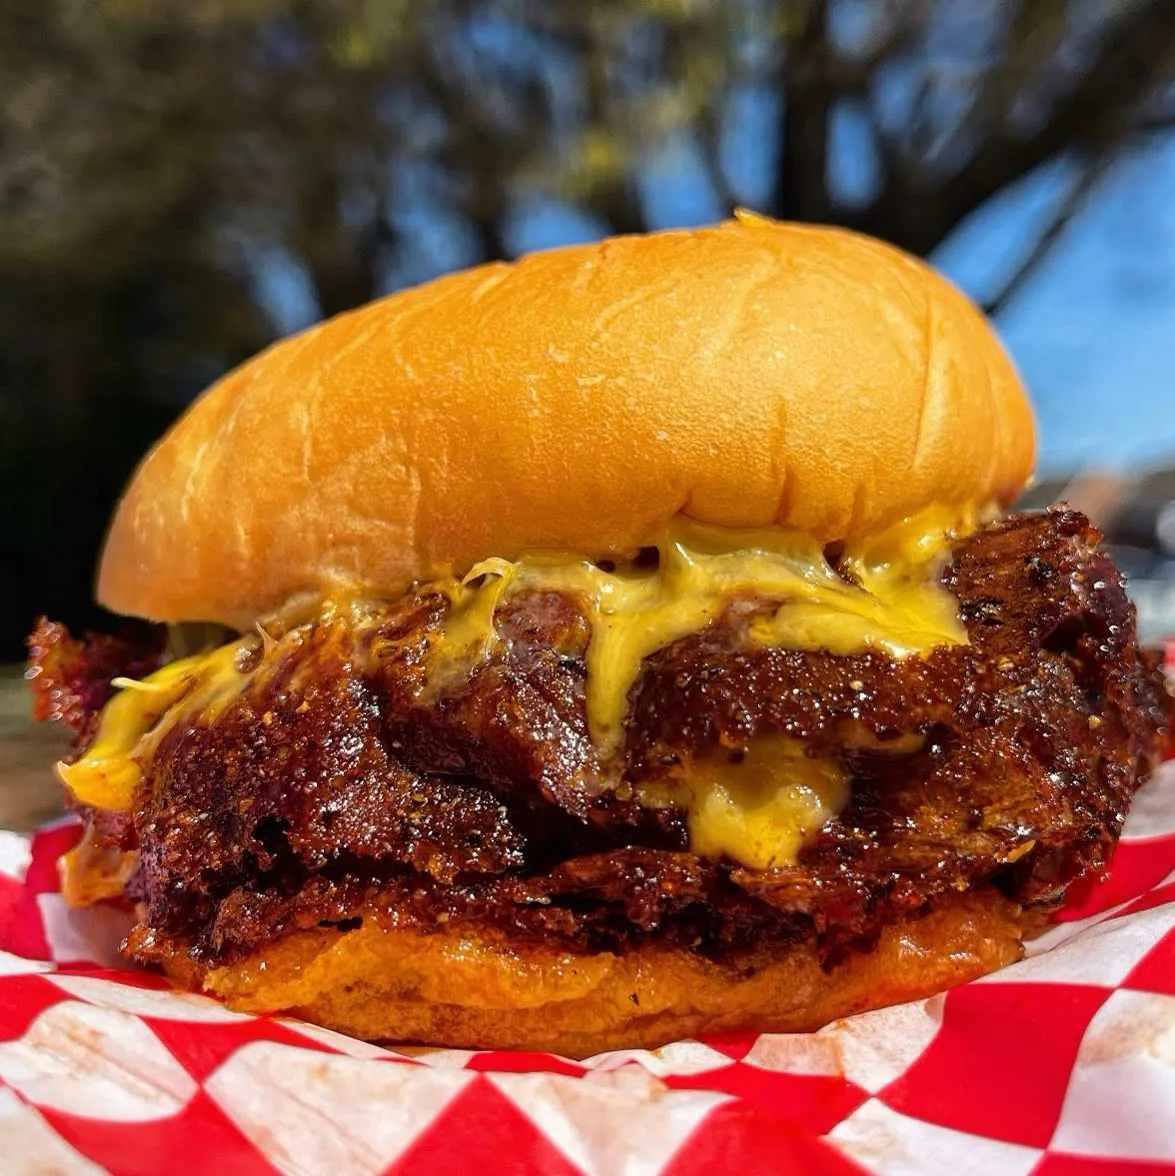
The gear is only as good as the burger. These are three ranked spots worth studying before your next cook.

One clean path

Need the whole starter setup?

Get the small list of tools we would actually buy first.

See starter setup